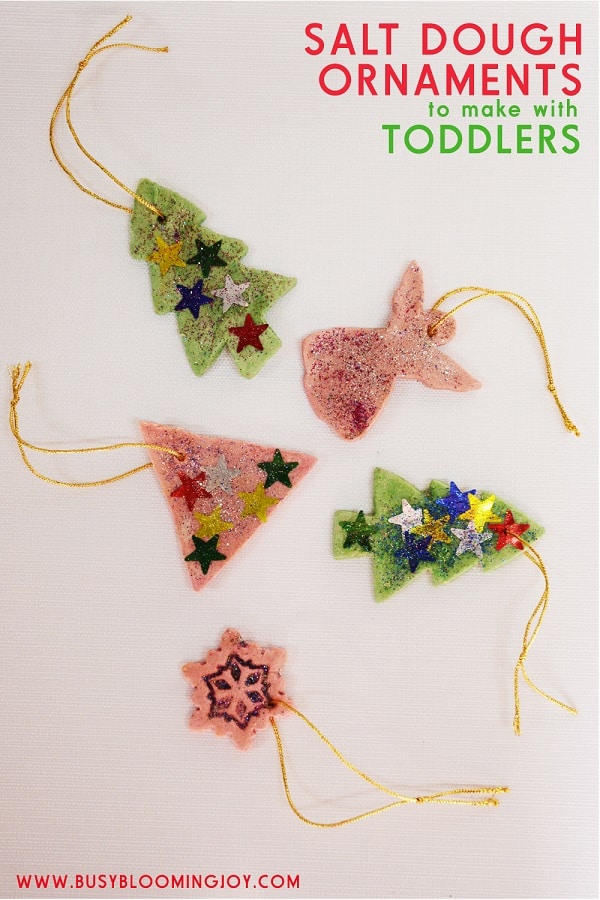
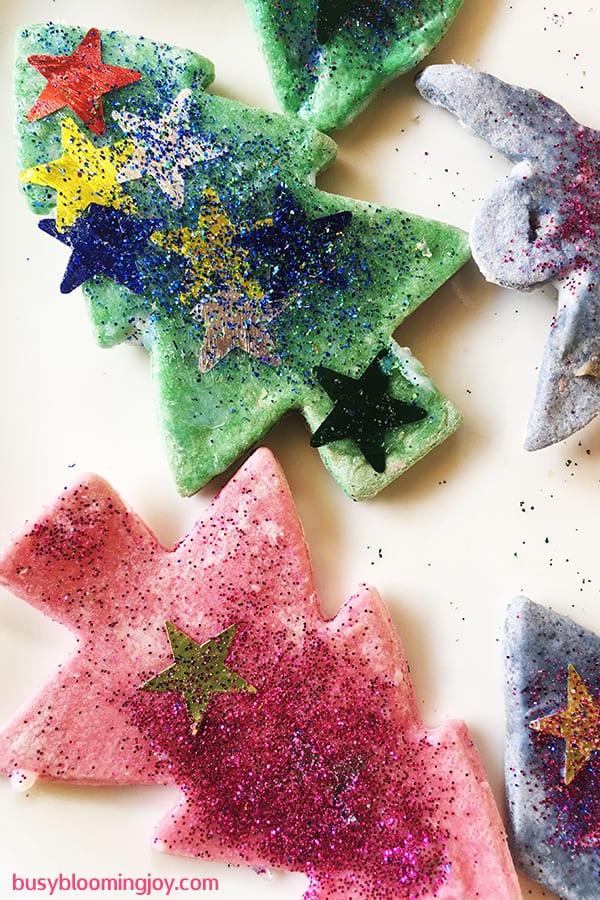
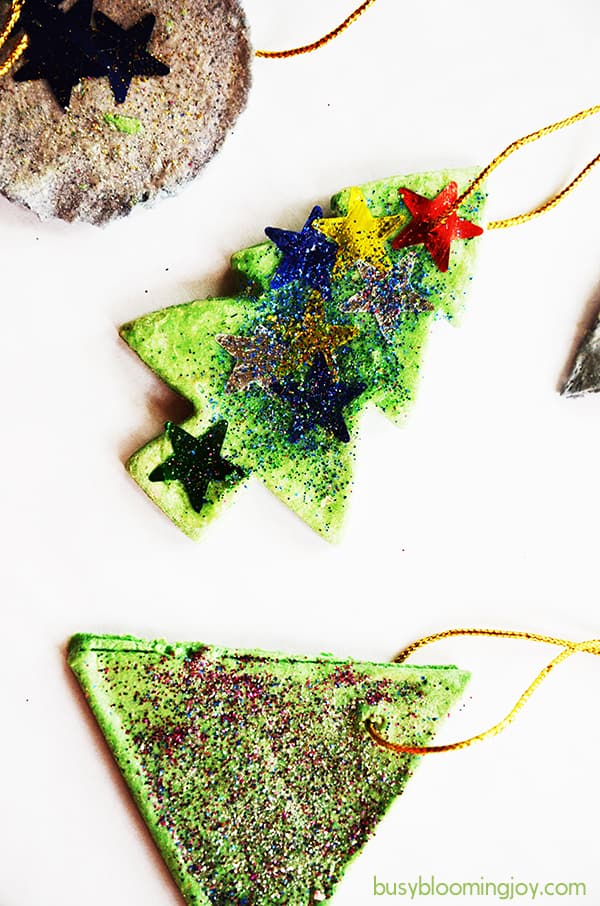
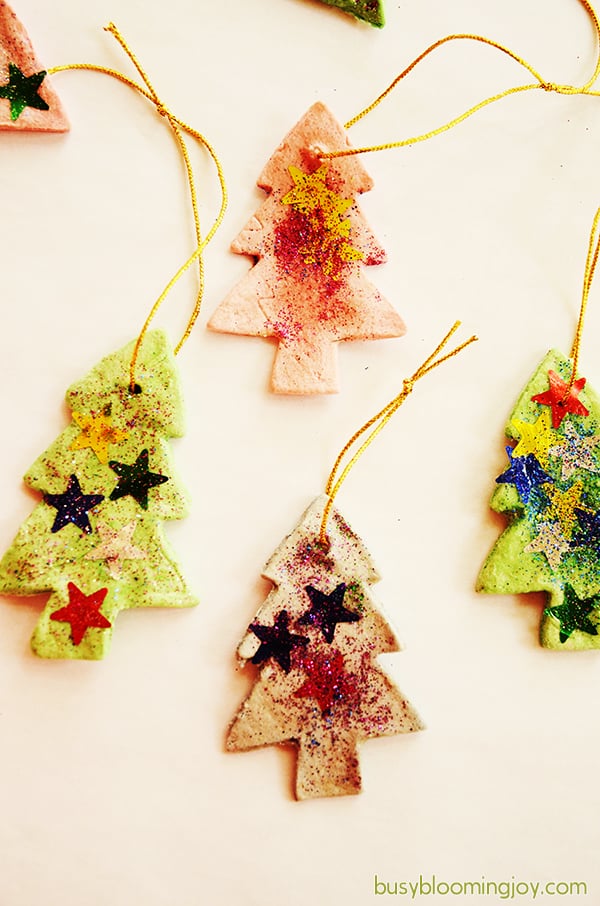
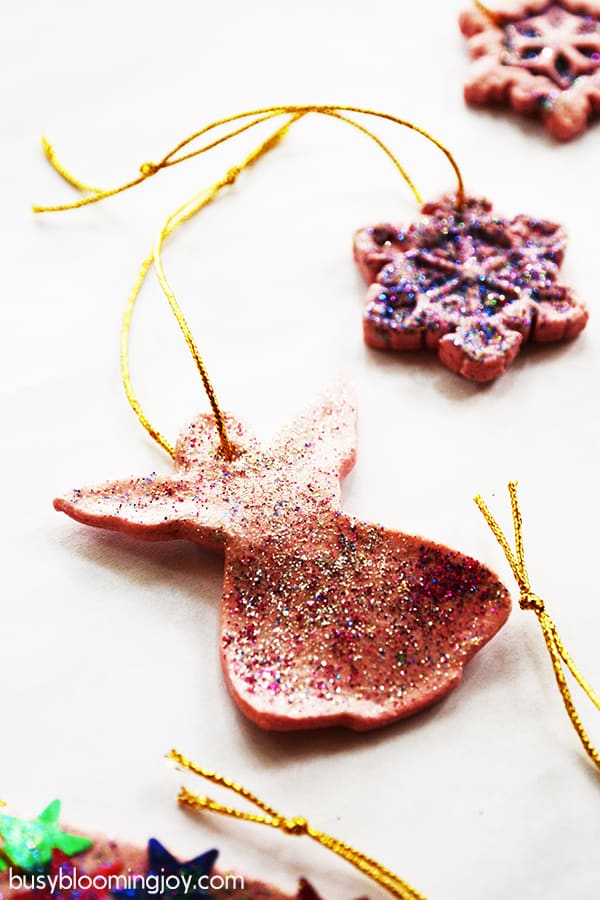
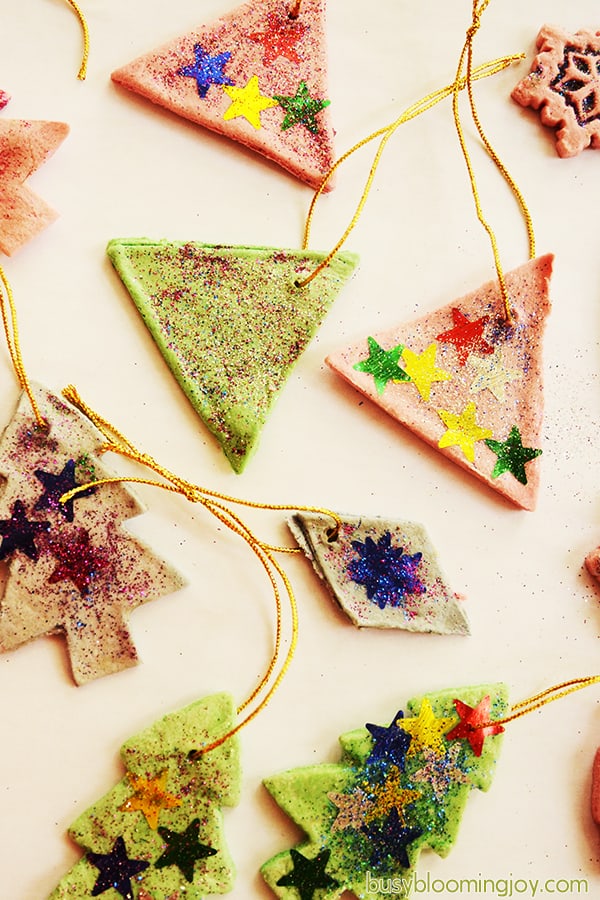
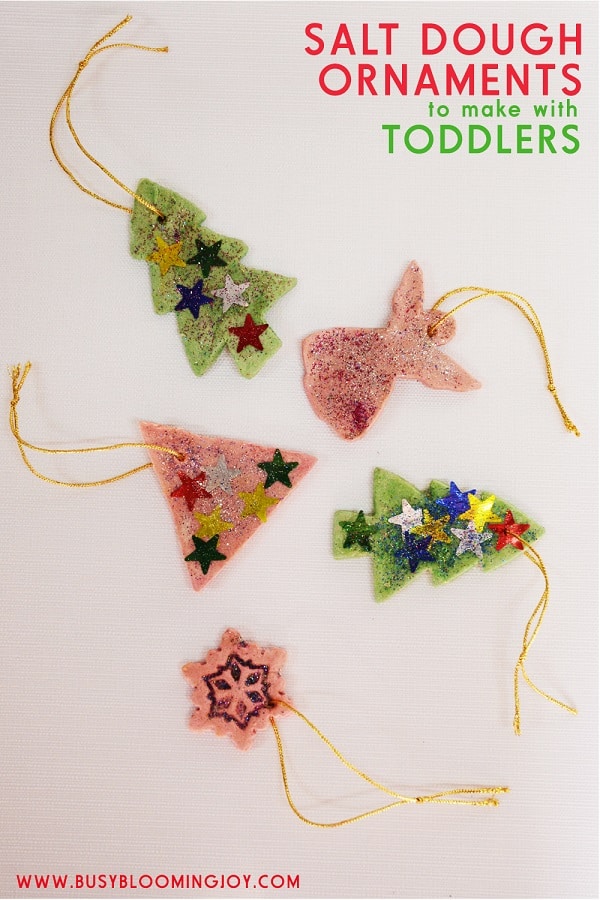
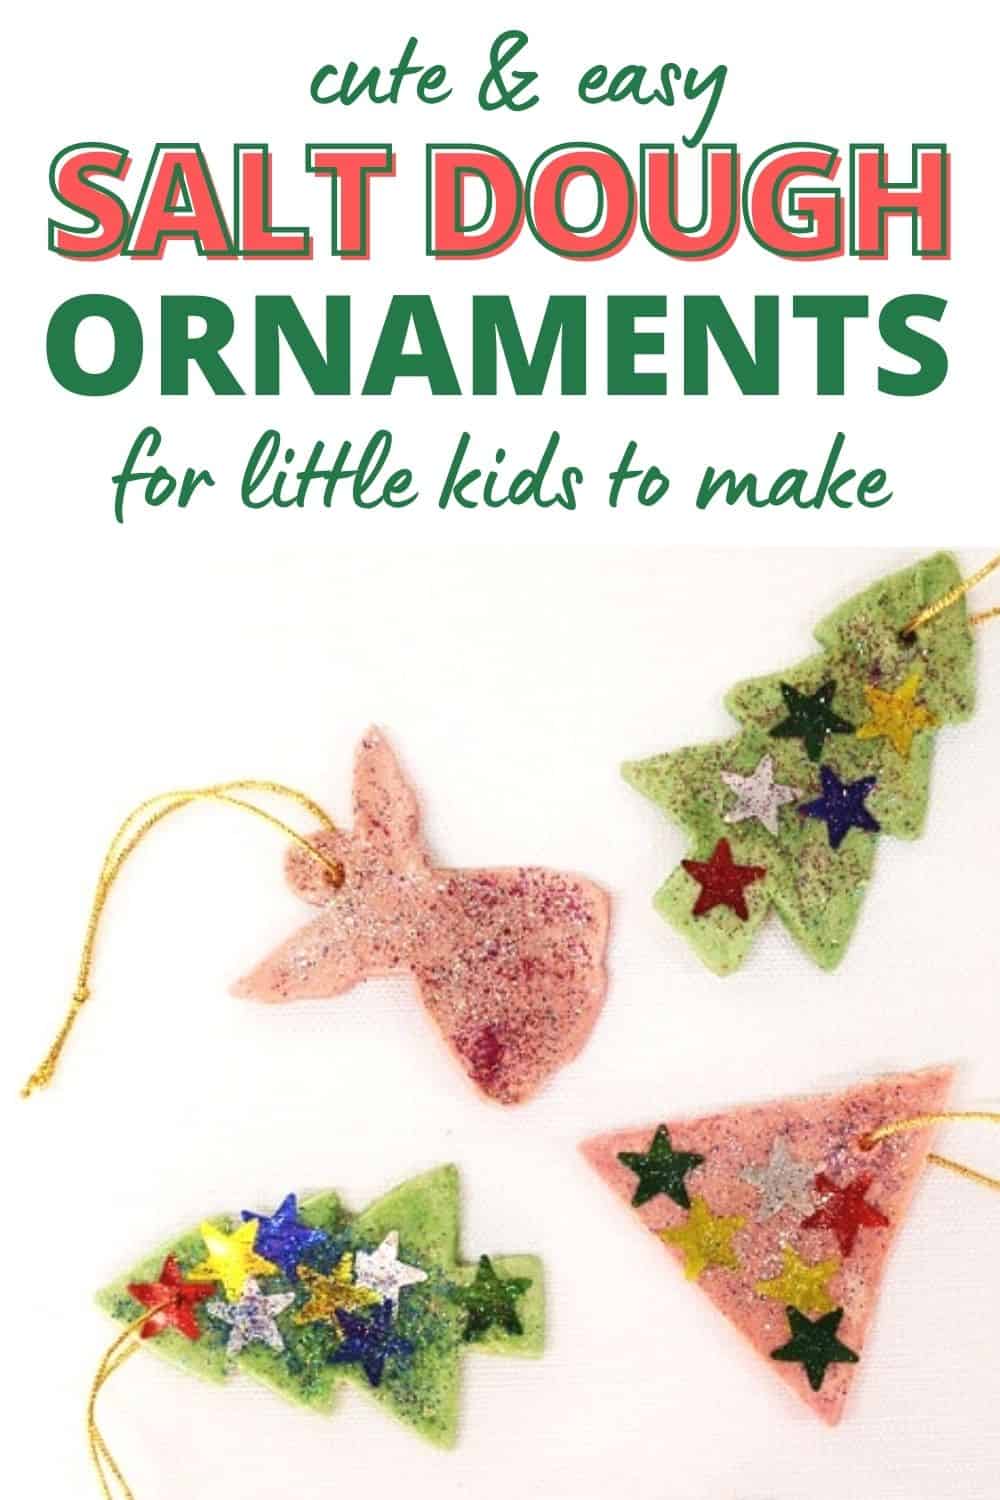
If your kids love playdough and glitter, they’re going to love making these salt dough Christmas decorations. My two toddlers love both. (Let’s be honest, I do too!) So these were sure to be a hit.
And the results are actually rather lovely! Stunning even.
Funny how the most spontaneous and accidental crafts, come out the best, right?! Because that’s the best way to describe these salt dough Christmas ornaments.
They came about totally on a whim. I mean, it’s only October and I normally leave everything and anything Christmas until December. But even now Christmas decorations are popping up in the shops – something I’m really not keen on. Which makes me just as bad this year, oops!
Anyway so the story is this…. we’d run out of playdough, well the nice smooth, clean, stuff at least. (We’ve got plenty of dry, flaky, cracked playdough… mostly full of googly eyes – from making these super scary playdough spiders.)
Rather than make more, I thought it’d be nice to make something more long-lasting; keepsakes from little kids are just the best. Hence the salt dough, which lasts for a good few years.
So out came the cookie cutters, most of which are Christmassy…
Then it was a case of, how to decorate with minimal mess and stress and maximum results. Hence stickers and glitter. Super simple, results speak for themselves I think!
What age are these salt dough Christmas decorations suitable for?
Here, I’m talking the age at which kids can take on this craft with very little outside assistance.
I love it when I find crafts that my toddler and preschooler can actually do without my help. Even if the results are sometimes less than impressive (that happens a lot) I’m a firm believer that kid crafts should be done by the kids…
It’s for their benefit, not mine! There’s nothing more satisfying when you’ve created something yourself; the same is true of kids, even at toddler and preschooler age.
Which is why this easy salt dough craft is such a winner.
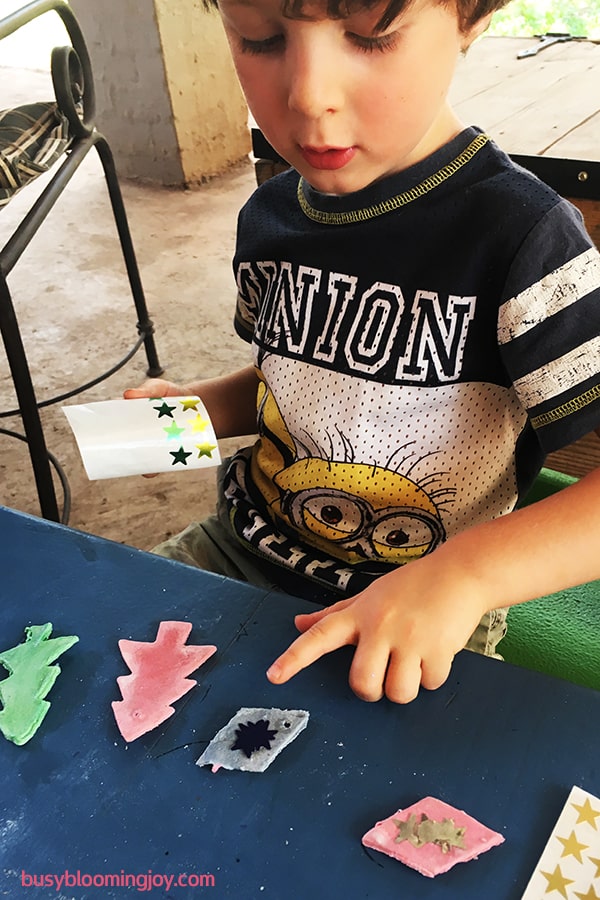
My youngest is 2.5. Her salt dough ornaments are just as lovely as my eldest, who’s nearly 4.
Even an 18-month baba is sure to squish and smush something together worthy of baking and then sprinkle some glitter on.
What your toddler or preschooler will learn
Playing with playdough is seriously good for little kids. It’s a wonderful sensory activity that works the fingers and hands and there are lots of other important developmental skills at work too; creativity. (For more detail check out this article from Parenting Choas here.)
The process of squeezing, poking and rolling salt dough is no different!
Cutting shapes with the cookie cutters is further test of coordination plus opportunity for your little one to learn shapes.
Peeling off the stars and sticking them; a good practice in fine motor. Painting the modge podge on – good practice in the pencil grasp.
Glitter? Well, that’s just all sorts of sparkly fun!
The ‘how-to’ of these salt dough Christmas tree ornaments
1 – Gather supplies
For the playdough you need:
- salt (1 cup)
- all-purpose flour (2 cups)
- water (1 cup)
- food coloring (a few drops in different colors)
- rolling pin or two (1 for each child is ideal)
- cookie cutters
- skewer
For the decorating you need:
- pack of multi-colored and/or gold and silver star stickers
- modge podge and paintbrush
- glitter
- decorative string/embroidery thread/ribbon
2 – Make salt dough
- Mix the salt and flour together in a bowl.
- Add the water and knead until you have a soft pliable dough. Add more flour if it’s too sticky or more water if too dry
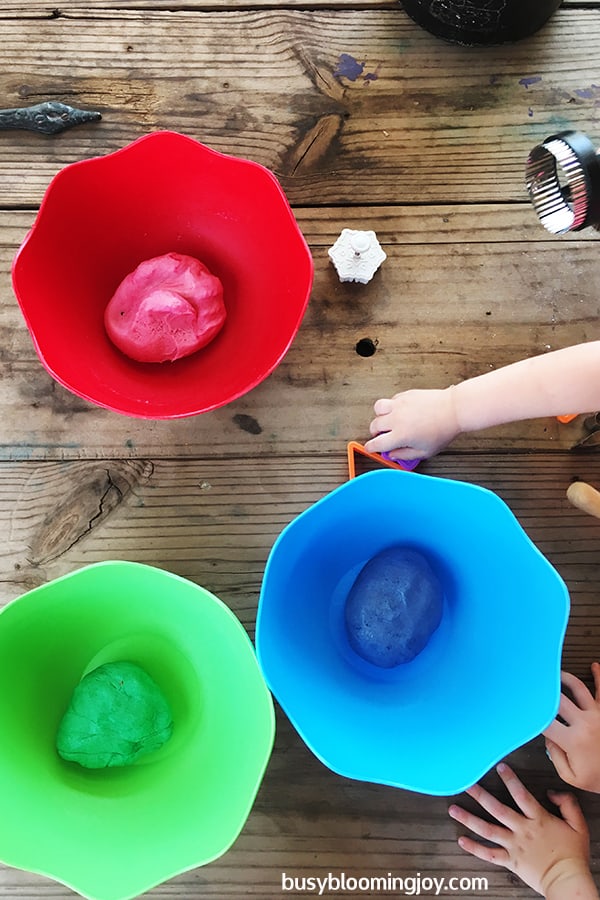
- Divide the salt dough into as many different balls as you have colors. Add a few drops of food coloring to each salt dough ball and knead until the color is evenly spread through the dough. Or you could leave one ball of playdough plain for a lovely biscuit colored finish.
- And you are ready to go
Let your kids help if you’re feeling brave!
My youngest normally gets involved in the preparation of our crafts too – she can’t keep her hands out of anything – but I normally only let her in on the mixing of the salt and flour and pouring in the water…
I do the kneading of the playdough or salt dough myself as it can get very sticky and gooey and once she’s stuck her hands in quickly goes everywhere … Removing too wet salt dough from hair, clothes, fingers and anywhere in the vicinity is not a great way to start off a toddler craft!
We went for red, green and blue salt dough – which are our go-tos for playdough as well. The yellow never seems to come out all that well in my experience.
3 – Make the Christmas tree ornaments
Firstly, prep the surfaces (and your kids!)
Flour the surfaces and the rolling pins quite well and have some to hand in case some of the salt dough is a bit stickier than you’d like. Then break off small chunks of playdough, ONE COLOR AT A TIME!
Excuse the caps but that’s important! Ask your toddler to chose a color to make their Christmas tree ornaments, when they’re done and they want to try another color, but the remaining saltdough back with the rest of it’s color and break them a new piece. Although mixing two colors of dough can give you a lovely marbled effect, this is not all that easy to achieve in the hands of a sub-4 year old. The more likely outcome is a giant ugly mess of purply/brown.
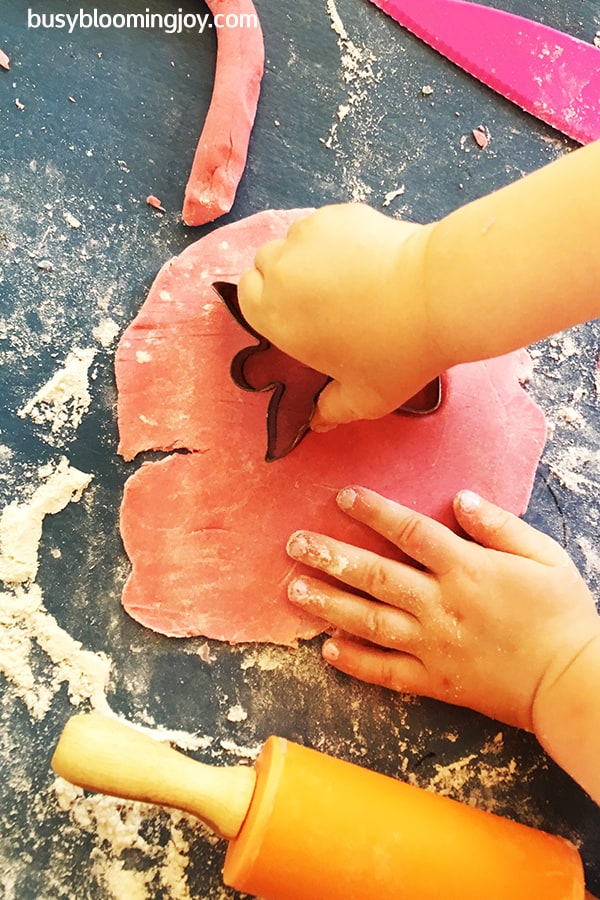
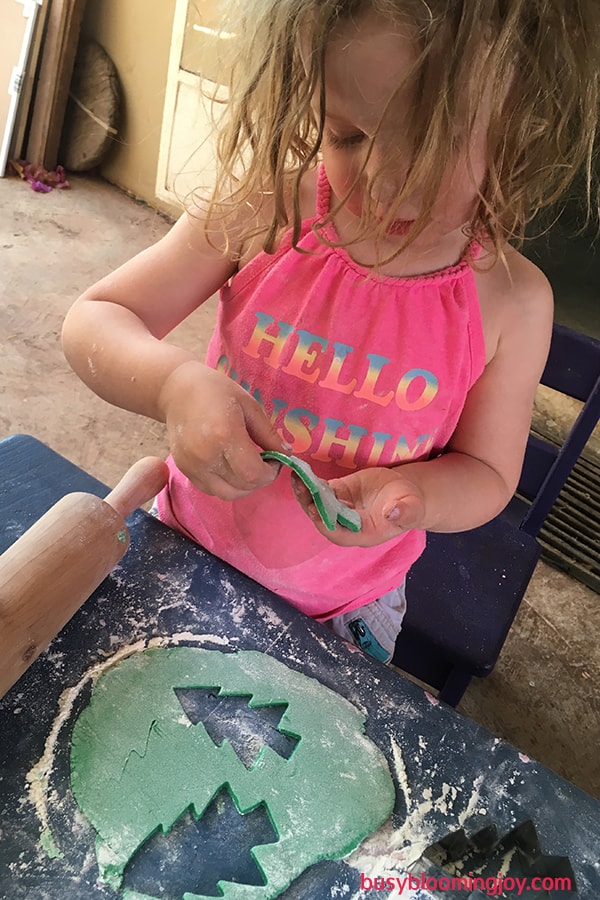
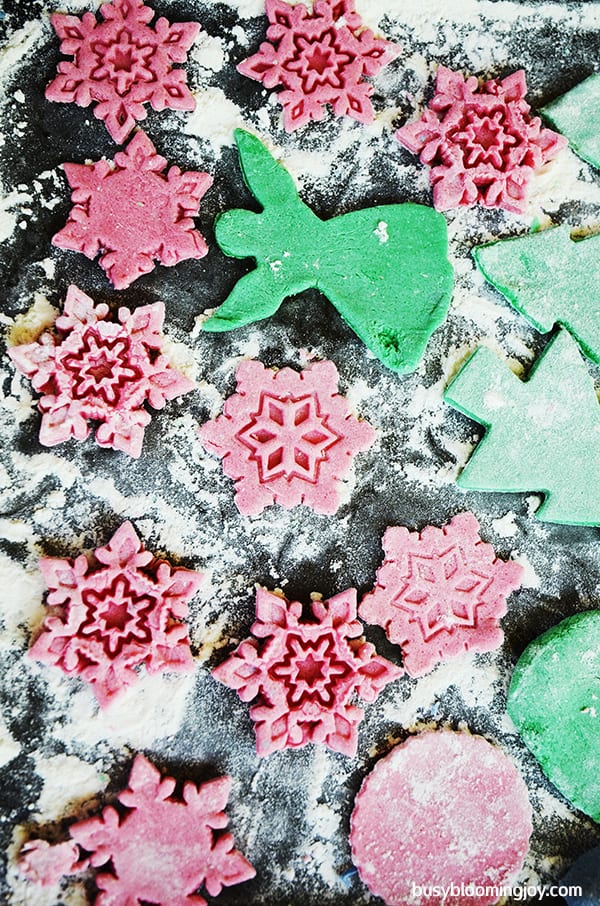
Roll the salt dough and cut shapes
You need a good few mm, let’s say 5mm, for a nice solid salt dough Christmas ornament. My two just loved to roll and roll and roll until the salt dough is so thin that holes are coming through… so need a constant reminder to stop rolling and start making shapes!
My daughter just loved the angels!!
But with a little persuasion got into the Christmas trees.
4 – Bake or dry the salt dough ornaments
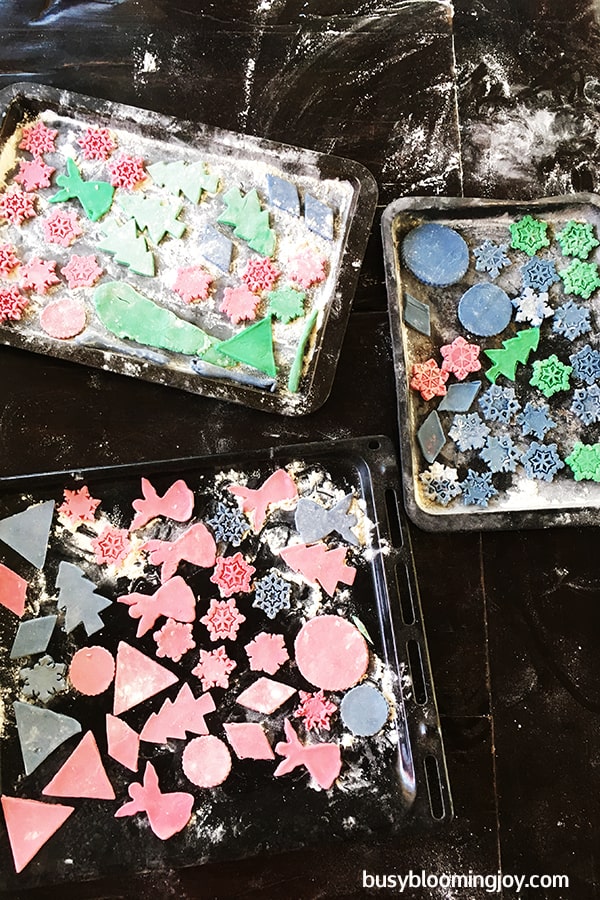
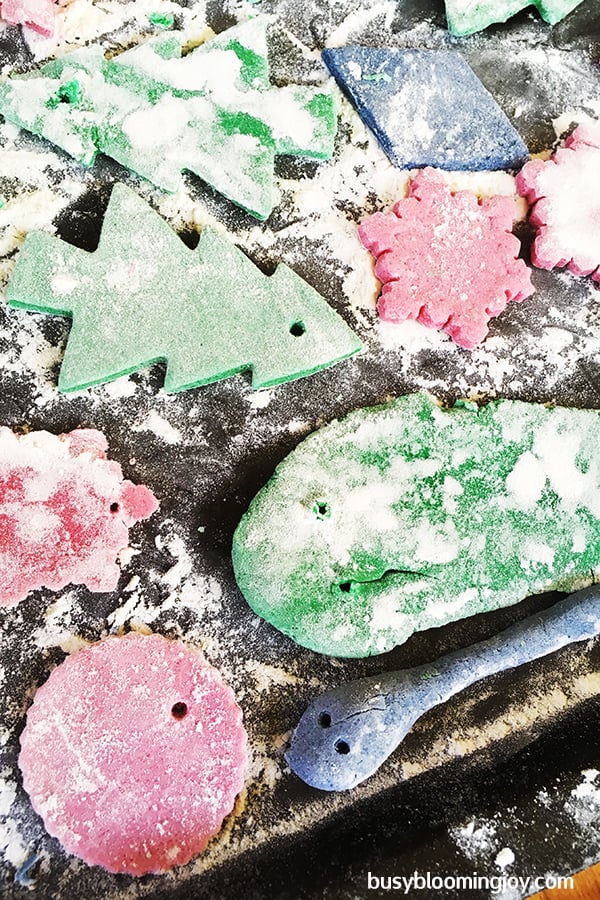
Lay out on baking trays and pierce a hole in each
Flour the baking trays a little – not as much as in the pictures below, that was my over-enthusiastic 4 year old!
Check out the snakes! My son loves making snakes with playdough so clearly we were always going to have to make some salt dough snakes for the Christmas tree too.
Bake or air dry
Here in Botswana in October room temperature isn’t that far off an oven at a low heat… well not quite but 40 degrees Celcius is pretty darn hot! So I let ours dry in direct sun for a few hours and then again I put them in direct sun the next day and they were bone dry.
If you live somewhere a more reasonable temperature then you’ll want to bake them at 100 degrees Celcius (200 Fahrenheit) for a couple of hours.
5 – Decorate the Christmas tree ornaments
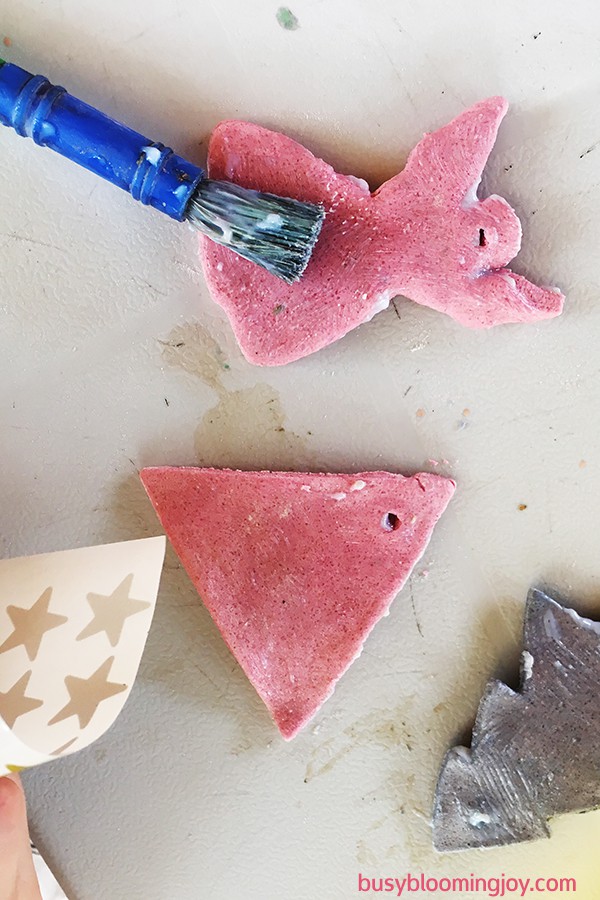
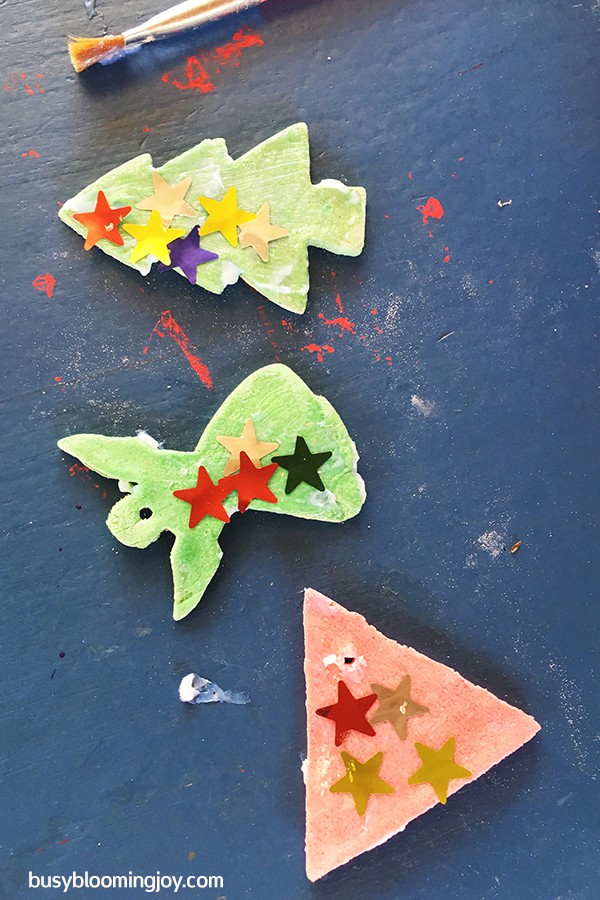
Star stickers and glitter was just about the easiest way I could think to decorate the salt dough ornaments, but the start stickers were not keen on staying stuck to the salt dough. No surprise with all that excess flour that got everywhere. Enter the modge podge. This then worked for the glitter too…
So for the decorating of these salt dough Christmas tree ornaments, you need to:
- paint a thin layer of modge podge on one side
- stick stars on
- put a dab more modge podge on top of the stars
- sprinkle on a little glitter (lay a piece of paper under the salt dough ornament to catch the glitter for re-use)
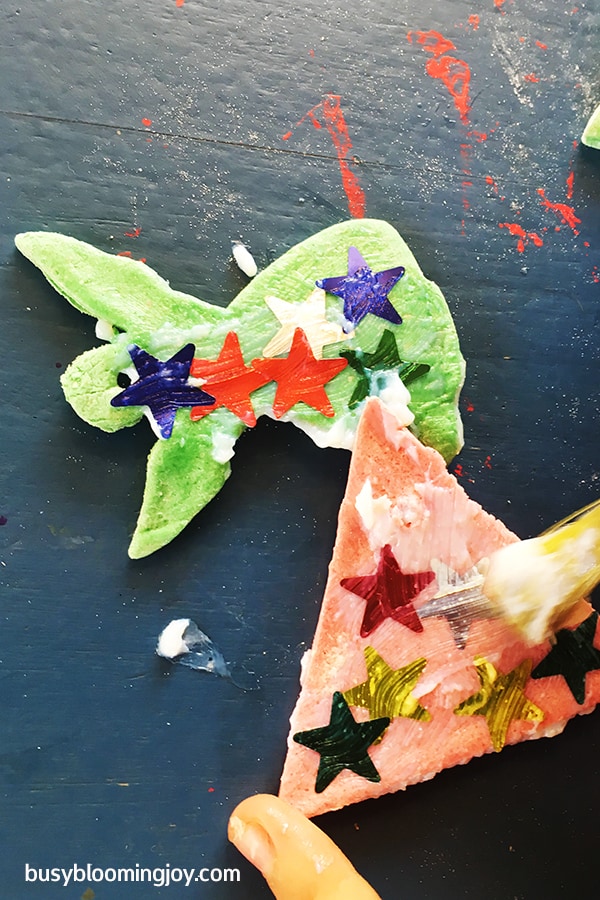
Painting the modge podge on.
Sticking stars on. My 4-year-old is big into sorting at the moment so he had to put all the blue stars together, one on top of each other, all the fold together and so on…
These are from my 2.5 year old – a bit more random and a lot more effective!
A touch more modge podge – not nearly as much as in these photos!
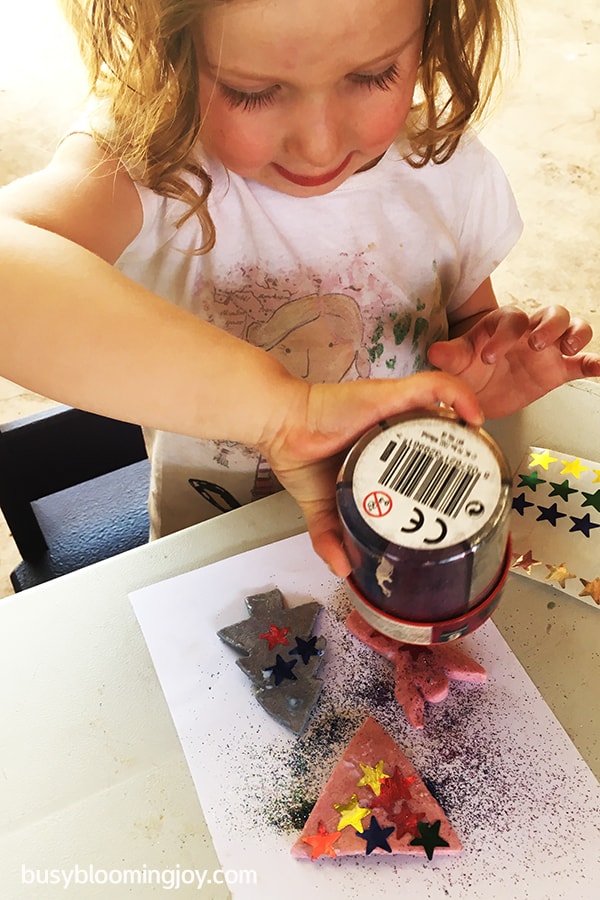
Sprinkling glitter – using a glitter shaker with a small nozzle so it can’t come out in one big lump is essential if toddlers are at the helm!
Now all that’s left is to thread the slat dough ornaments with some nice decorative string. I found some gold, perfect for Christmas.
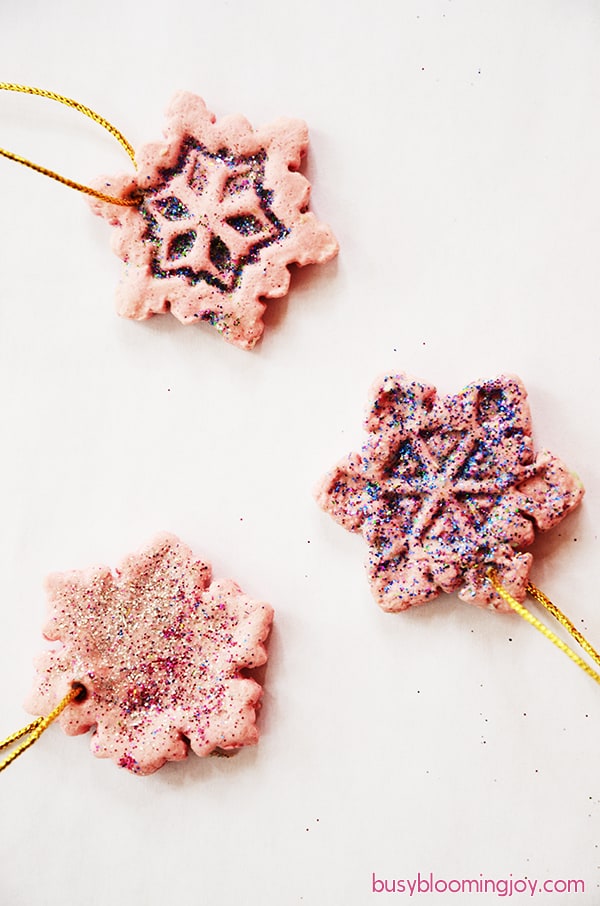
These snow flake ornaments were so pretty they just got a sprinkle of glitter, no stars necessary.
5 – Admire!
I’ll have to get some pics of these when they’re hanging on the Christmas tree – definitely too early to think about that now though!
40+ easy activities handpicked for busy moms of kids aged 2 to 6 years – because Christmas needn’t be chaotic or cost a fortune!
Create gorgeous hand and footprint art with your little one
Help your kids write Santa a letter and receive a reply
Looking for more Christmas arts and activities for your littles? Take a look at these:
- 55 cute Christmas crafts for toddlers
- 50 fun Christmas crafts for preschoolers
- 43 easy-peasy Christmas activities for toddlers & preschoolers
- 45 adorable Christmas ornaments for kids of all ages (from tiny tots to tall tweens) to make or help with
- Silver pasta Christmas tree ornaments – a cute and simple toddler craft and keepsake
- Homemade snowman Christmas card to make with your toddlers
- Easy paint chip Christmas tree card
- 41 Easy Christmas Tree Arts and Crafts for Toddlers
- 41 Fun, Easy & Adorable Nativity Crafts for Kids
- 41 Easy Santa Claus crafts for toddlers (inc. Santa hat crafts)
- 25 Easy Christmas ornaments made from nature or nature-inspired, perfect for kids to make
- 50 Christmas sensory activities & bins for toddlers & preschoolers
For more easy toddler activities to keep your little ones busy indoors and out check out:
- 39 simple & sanity-saving activities for toddlers & preschoolers to do at home
- 49 Simple & fun outdoor activities for preschoolers
- Marble rolling: easy art activity for toddlers & preschoolers
- 50+ Indoor gross motor activities for toddlers & preschoolers (1,2 & 3 year olds)
- 40 Fun & easy dinosaur activities for preschoolers (arts, crafts, sensory + more!)
- 50 Fun Transportation Crafts & Activities for Toddlers and Preschoolers
- 100 fun & easy toilet paper roll crafts for toddlers 2 & 3 years old
- 39 Fun & easy arts & crafts for 1 – 2 year olds
- 10+ Fun & simple dry messy play ideas for 1 and 2-year-olds
- 21 Easy Finger Painting Ideas For Babies 1-2 Years Old
Excited for Easter? Bookmark these for later.
- 19 Cute & simple Easter activities for babies (sensory, art & more!)
- 50 Easy Easter Bunny Arts & Crafts Ideas For Toddlers (2 and 3 year olds)
- 75 easy fun Easter crafts and activities for 3 years olds
- 40+ Easy Easter crafts for toddlers (minimal prep, minimal mess = minimal stress!)


