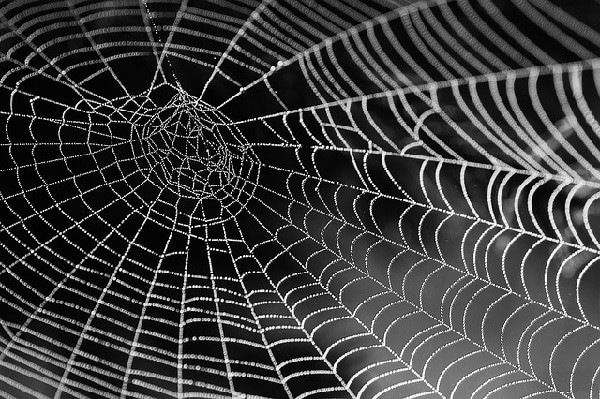
There’s something rather fascinating about spider webs. They’re the perfect combination of form and function – I just love them! Luckily my two kids share this fascination.
In fact, such is the delightful curiosity of small children, I doubt there’s one who won’t be awed by the humble spider web.
So a spider web craft needs to be on your list of craft to-dos if you have a preschooler or older child. Of course, if it’s Halloween, then a spider web craft is an absolute must.
This puffy paint spider web is as beautiful as the real thing! Well, that does slightly depend on, mmm, quite a few things… but there’s definitely potential.
Once you’ve created your puffy paint spider web, what’s next? Well, you need a spider of course.
I’m not a big fan of the spider web creators (the spider, that is), but any spider web craft is going to look a little unfinished without one. So I will link to some spider crafts at the end of this post.
Firstly, some fun spider web facts for your child
When crafting with your kids, it’s good to have a bit of story behind the craft, so they understand what it is they are creating.
This is made all the easier if your toddler has managed to see a real-life spider web, complete with spider.
Regardless, here are a few very basic spider and spider web facts that you can use to talk about this spider web craft before you get started or while you’re creating it:
- A spider is an ‘arachnid’ a bit like an insect
- Spiders have 8 legs and lots of very small eyes
(Don’t be afraid to throw in new words like this because this is quite an easy one to say. My toddlers love learning new words and I love hearing them try to say new words of the first time! Or even not-so-new words they still can’t say – biscuit is still ‘bis-dic’. Lots of entertainment value.)
- Spiders make their spider web from silk
- This silk is very thin and very strong – much stronger than metal
- The spider web is a little bit sticky which traps insects that fly or crawl into the web – the spider eats the trapped insects
- Spiders make their webs in lots of different places, outside and inside the house, to catch different insects
- When they want to move house and live somewhere else, they sometimes eat their spiderweb and make it into a new one
This is more than enough information for a toddler or preschooler – my nearly 4-year-old was quite intrigued – there was a lot of ‘why’ questions, totally typical at his age!
My daughter (2 and a half) just kept saying ‘aran-din’. I wish I’d got a video!
In a nutshell, this puffy paint spider web craft involves…
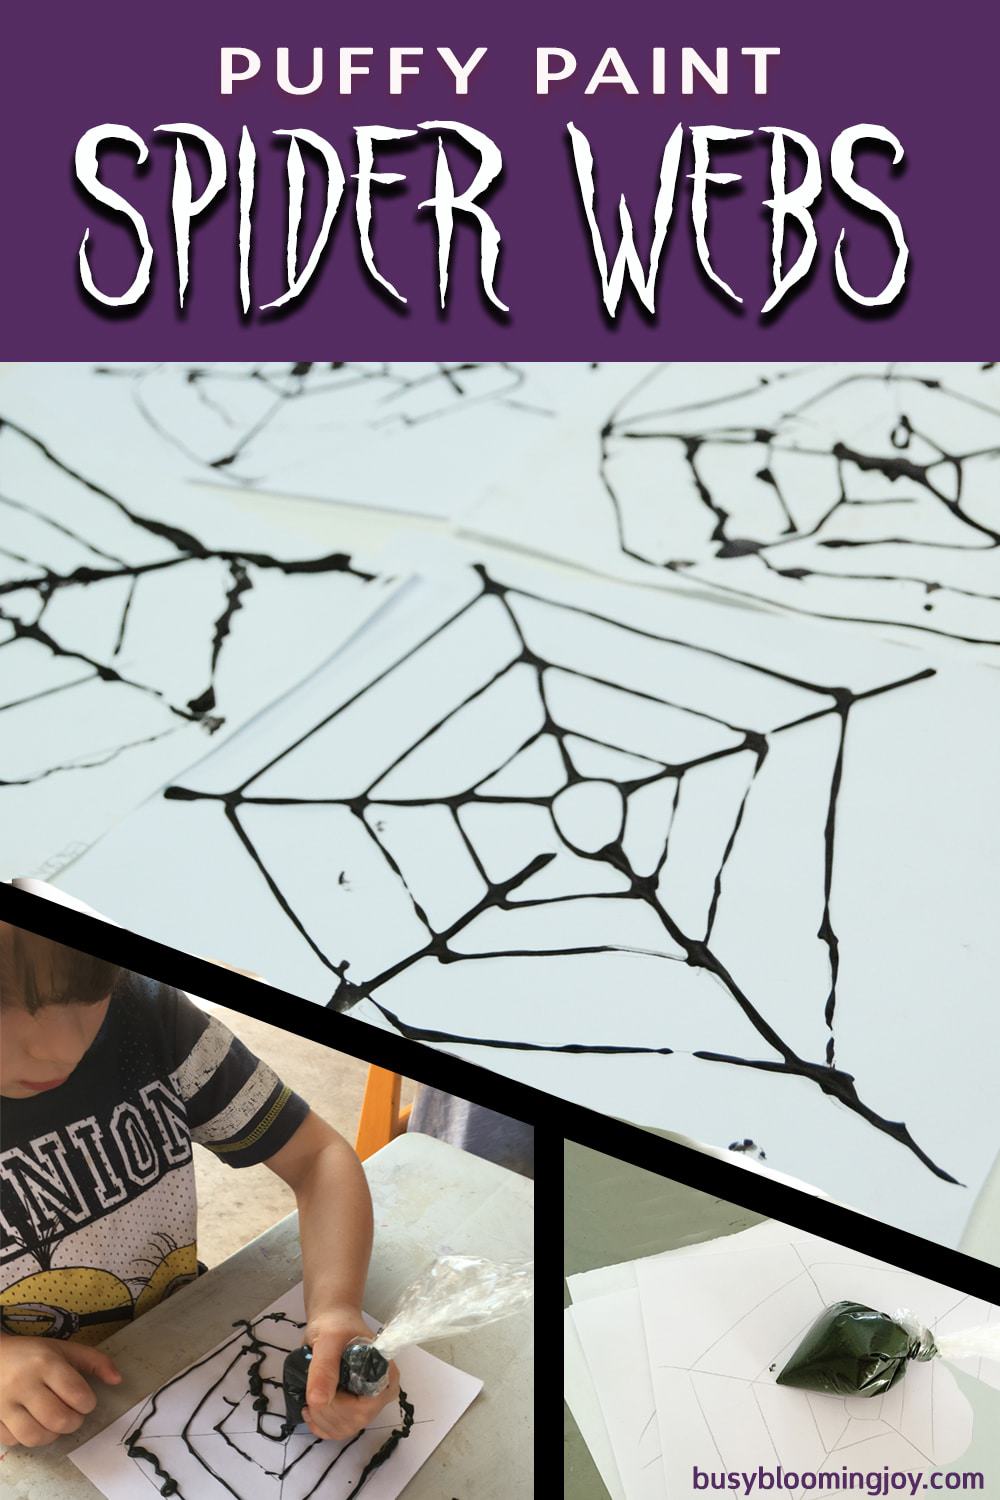
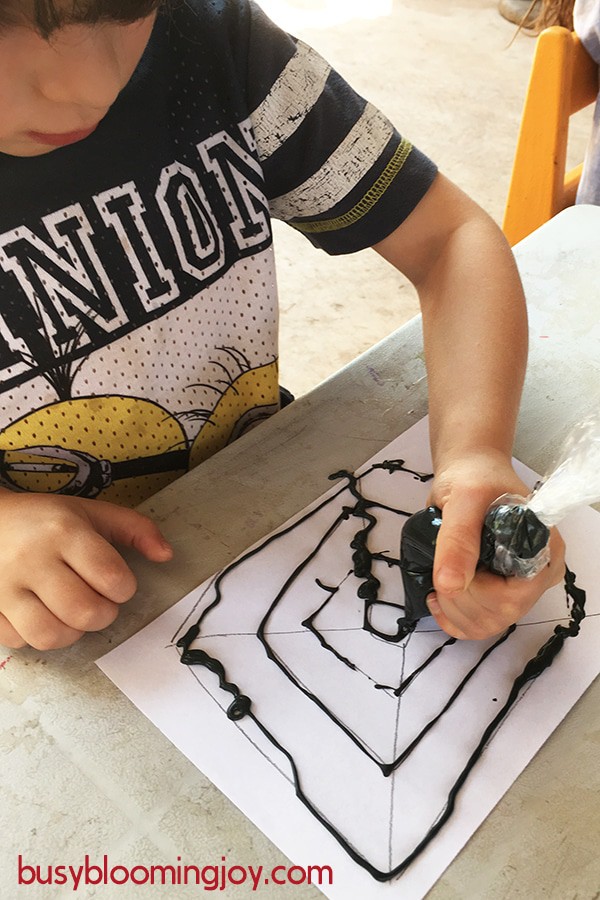
Making some black puffy paint, sketching out a spider web on white paper and getting your toddler to trace over the sketched spider web with the puffy paint.
Don’t panic! More detailed instructions with pictures to show the how-to step-by-step coming up!
Sadly, this is not one of those crafts that I can claim to be no-mess and no-prep. There’s a bit of both but not too much. Believe me, if the prep took more than 5-10 minutes it would never have happened. Of that, you can be assured!
What will your preschooler learn while creating this puffy paint spider web
Lots about spiders and spider webs, of course (see spider facts above).
This craft is all about fine motor control and a steady hand. It is not an easy one at all.
Your preschooler is going to have to maintain a steady squeeze on the puffy paint to keep it flowing and trace the lines of the spider web all at the same time.
Huh, I hear you say!
Yes, you may have to assist but your kids are going to love the end result. So worth it.
What age is this spider web craft suitable for?
As I said, this is not an easy craft.
As such, I’d recommend this for kids aged 4+. So for preschoolers and older kids.
My son is nearly 4 and he did have a go on his own but I did help guide his hand for a lot of it. When he wanted to try on this own, he struggled. That’s not to say he didn’t enjoy it and he loved the end result just the same. But he did try to claim my demo model as his own, because it did come out rather well (if I do say so myself).
My daughter, at 2.5, had lost interest in waiting her turn so didn’t even try. No bad thing.
We also had a friend’s daughter over for a playdate at the time. She’s 4.5 and had a pretty good crack at it alone.
Supplies needed
- Black homemade puffy paint (glue, shaving cream, flour, black food coloring)
- Sandwich bag or ziplock
- White paper or card
- Pencil
The how-to of this spider web craft for kids
1. Make the puffy paint
I followed a puffy paint recipe I’d seen on 3 separate craft blogs that was far too stiff (1/4 cup flour, 1/4 cup white glue, 3/4 cup shaving foam).
I have no idea why mine would be so different. I think different brands of glue and shaving foam plus different climates must all have an impact. It’s very warm here at the moment which I assume would make it stiffer.
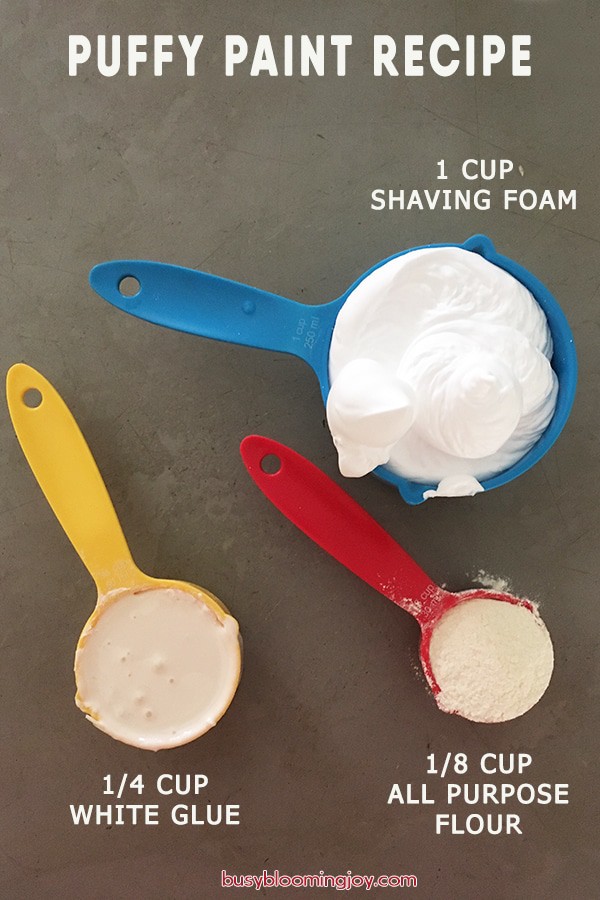
The puffy paint recipe I used:
- 1 cup shaving foam
- 1/3 cup white glue
- 1/4 cup flour
- a few drops of black food coloring
If the recipe seems too stiff:
Add more glue and shaving foam until the consistency slowly drips off the spoon or fork or whatever you’re mixing with.
Let it drip onto some paper and test how easy it is to make shapes with.
If the recipe seems too runny:
You guessed it, add more flour. Then test as before.
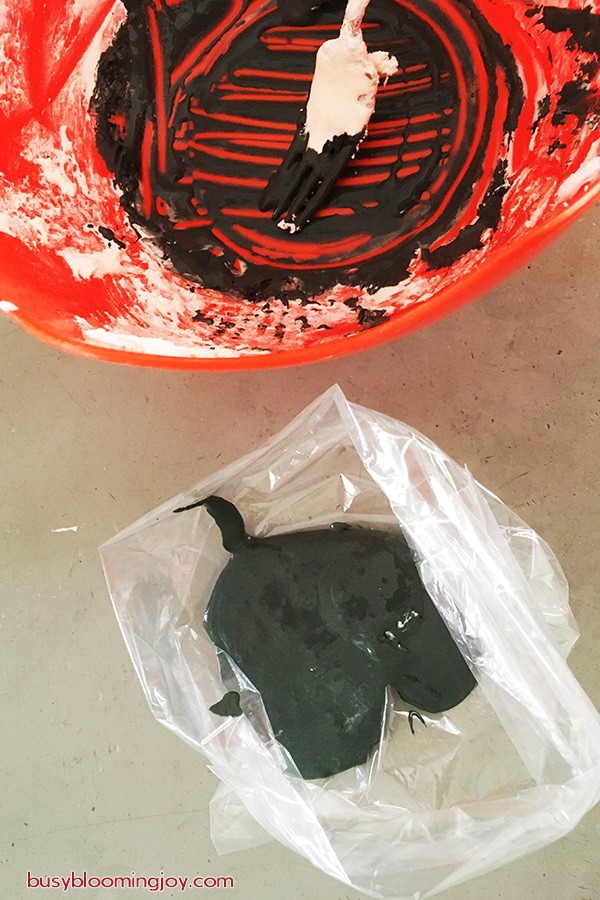
2. Spoon puffy paint into a bag
Think of this puffy paint activity like icing a cake. So you need to get that puffy paint into it’s piping bag.
I used a sandwich bag at first. Not ideal as it was a bit thin and started to stretch with too much squeezing.
You need a slightly thicker bag, like a ziplock bag.
Tips for getting the darn paint into the darn bag
Can you tell I found this a little tricky?!
I found the best way was to roll down the sides of the bag and put it flat onto the table. Then try and spoon it in straight into the middle of the bag.
If you get the paint on the sides, it becomes a giant sticky mess.
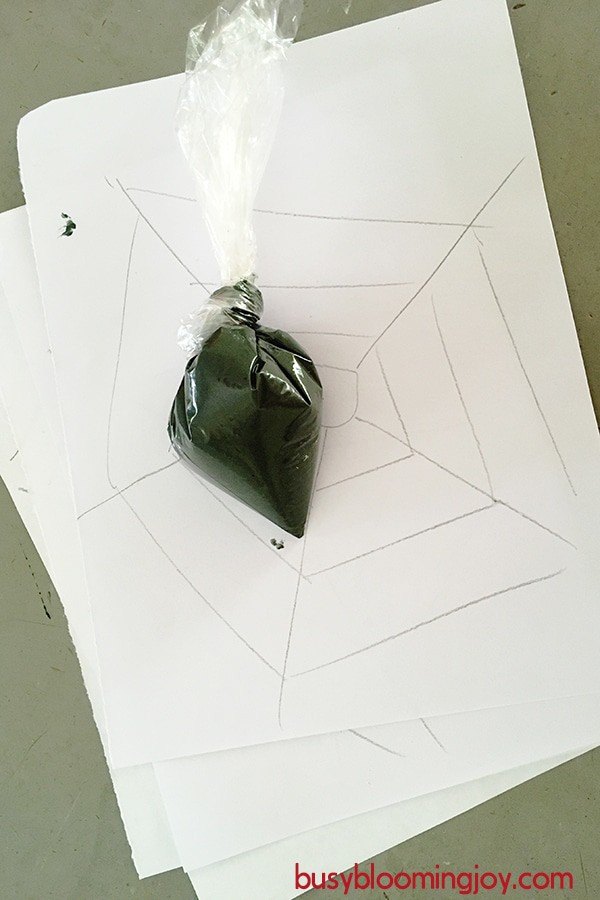
3. Tie up the bag with a knot at the end
If you were doing this kid-free then the knot is not necessary. But since your preschooler is likely to start squeezing the puffy paint when holding the paint bag right in the middle, the paint is going to get squeezed out the top.
DON’T CUT THE HOLE UNTIL YOU’RE ABSOLUTELY READY TO START!
This is step no. 5 but just putting this here to make sure you don’t do this too early! Because as soon as you snip that hole the paint is going to start oozing out so you need to be ready.
4. Sketch out some spider webs
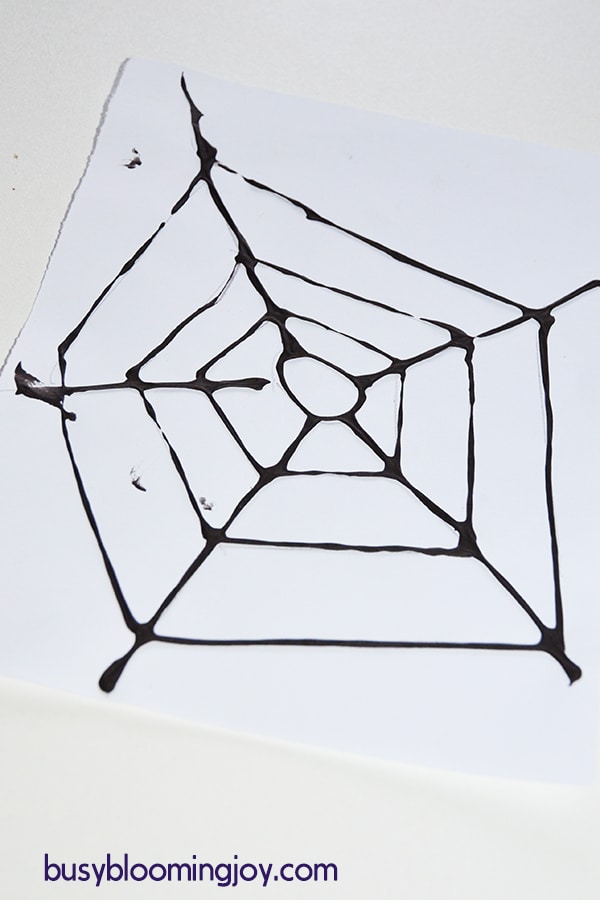
I just did these by hand. Start with a small pentagon in the centre, then have a line branching out from each corner to the sides of the paper. Then fill out the rest of the spider web.
5. Cut a tiny hole in the end of your paint bag
Like really, really small.
If you cut it too big, there’s no turning back. You’ll have to start all over again.
If it’s too small you can easily make it bigger…
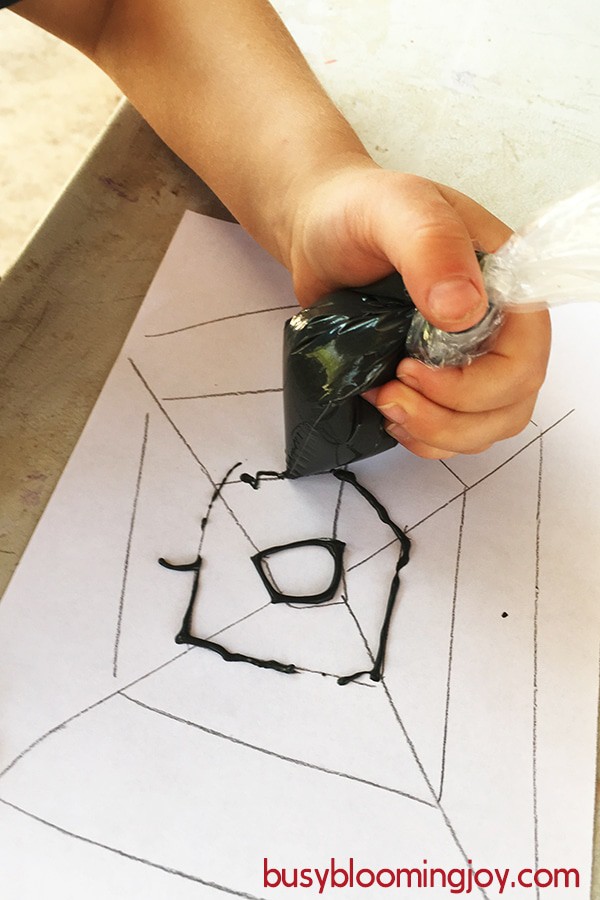
6. Time to start painting that spider web craft!
So as I mentioned earlier, this is quite tricky one even for older preschoolers.
It really takes a lot of control and coordination to both squeeze the paint to get a good flow and trace the lines. So it really is a great exercise for this type of fine motor skill.
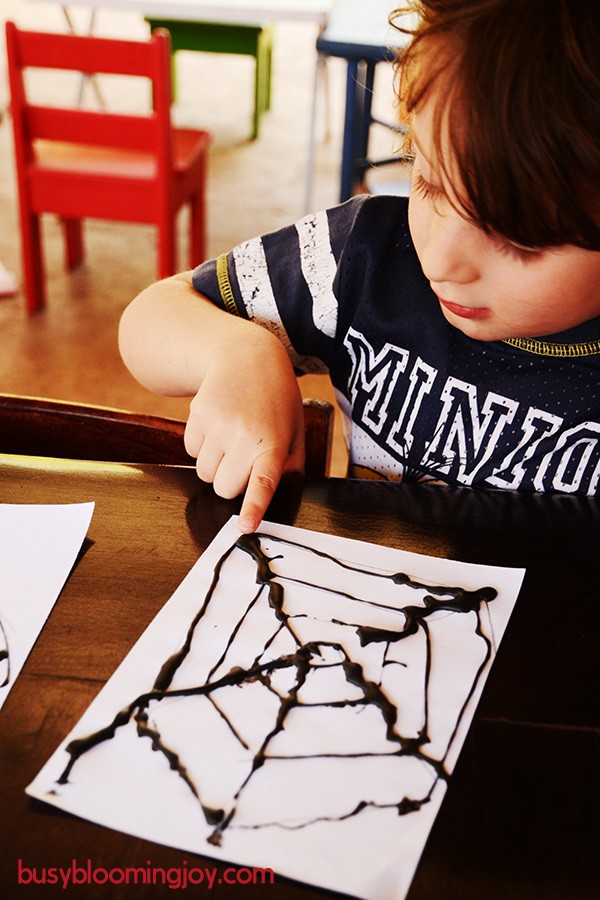
The pictures above are of my nearly 4 year old doing his spider web craft but he really struggled on his own. You can easily tell the lines I helped him with and the ones he did on his own!
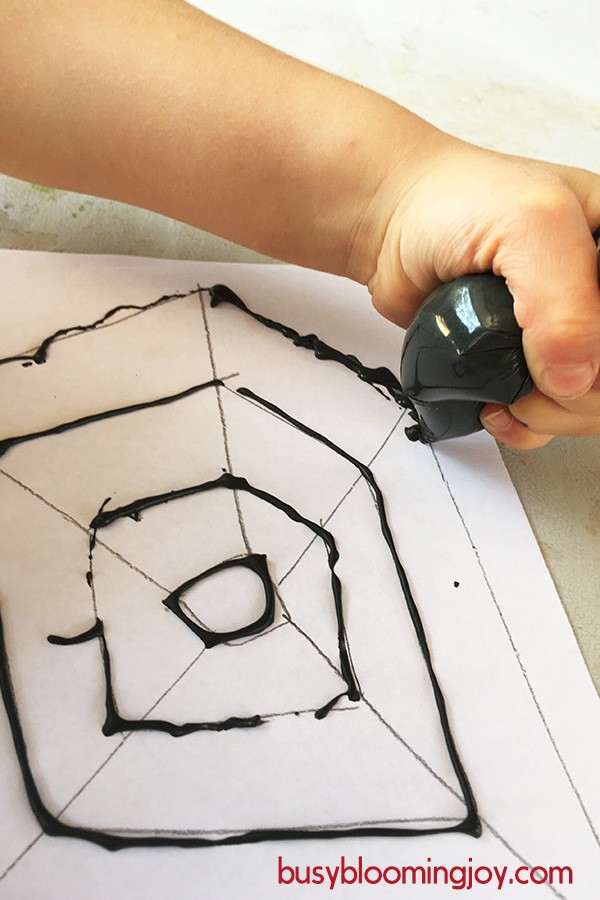
But if you check the photo below you can see the spider web done by his little friend who’s 4.5. She managed that all on her own. Not bad!
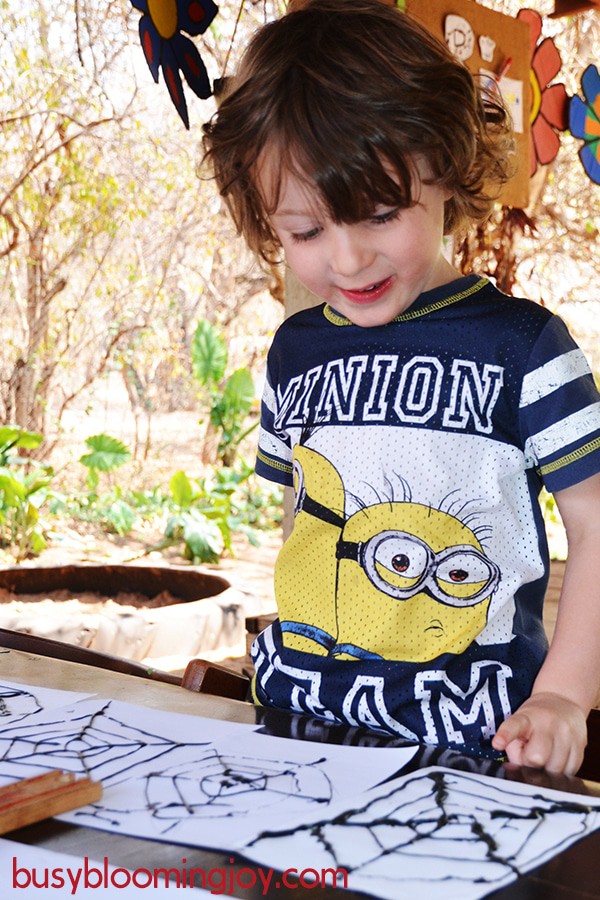
Either way, the effect of the puffy paint means this spider web craft is well worth it even if you have to help your child along the way. My kids totally loved their spider webs.
7. Wait for the spider webs to dry!
Patience, yup, a test of patience not to want to poke and prod those spider webs…
8. Admire!
Then it’s time to make a spider… what spider web craft is complete without a spider…
Easy spider crafts coming soon.
Looking for more no-so-scary crafts for your toddler or preschooler this Halloween? Check out:
- Leaf monster craft for toddlers: super-friendly, sorry scary (!), and perfect for Fall
- Super simple cutting activity for toddlers: 3D apple or pumpkin craft
For other crafts and activities perfect for Fall check out: